Import Arria for Power BI to a sample report
You'll begin by importing the Arria for Power BI custom visual into a sample report that includes typical sales data.
If you haven't already, download the Arria For Power BI Tutorials report (.pbix file).
In Power BI, open the report.
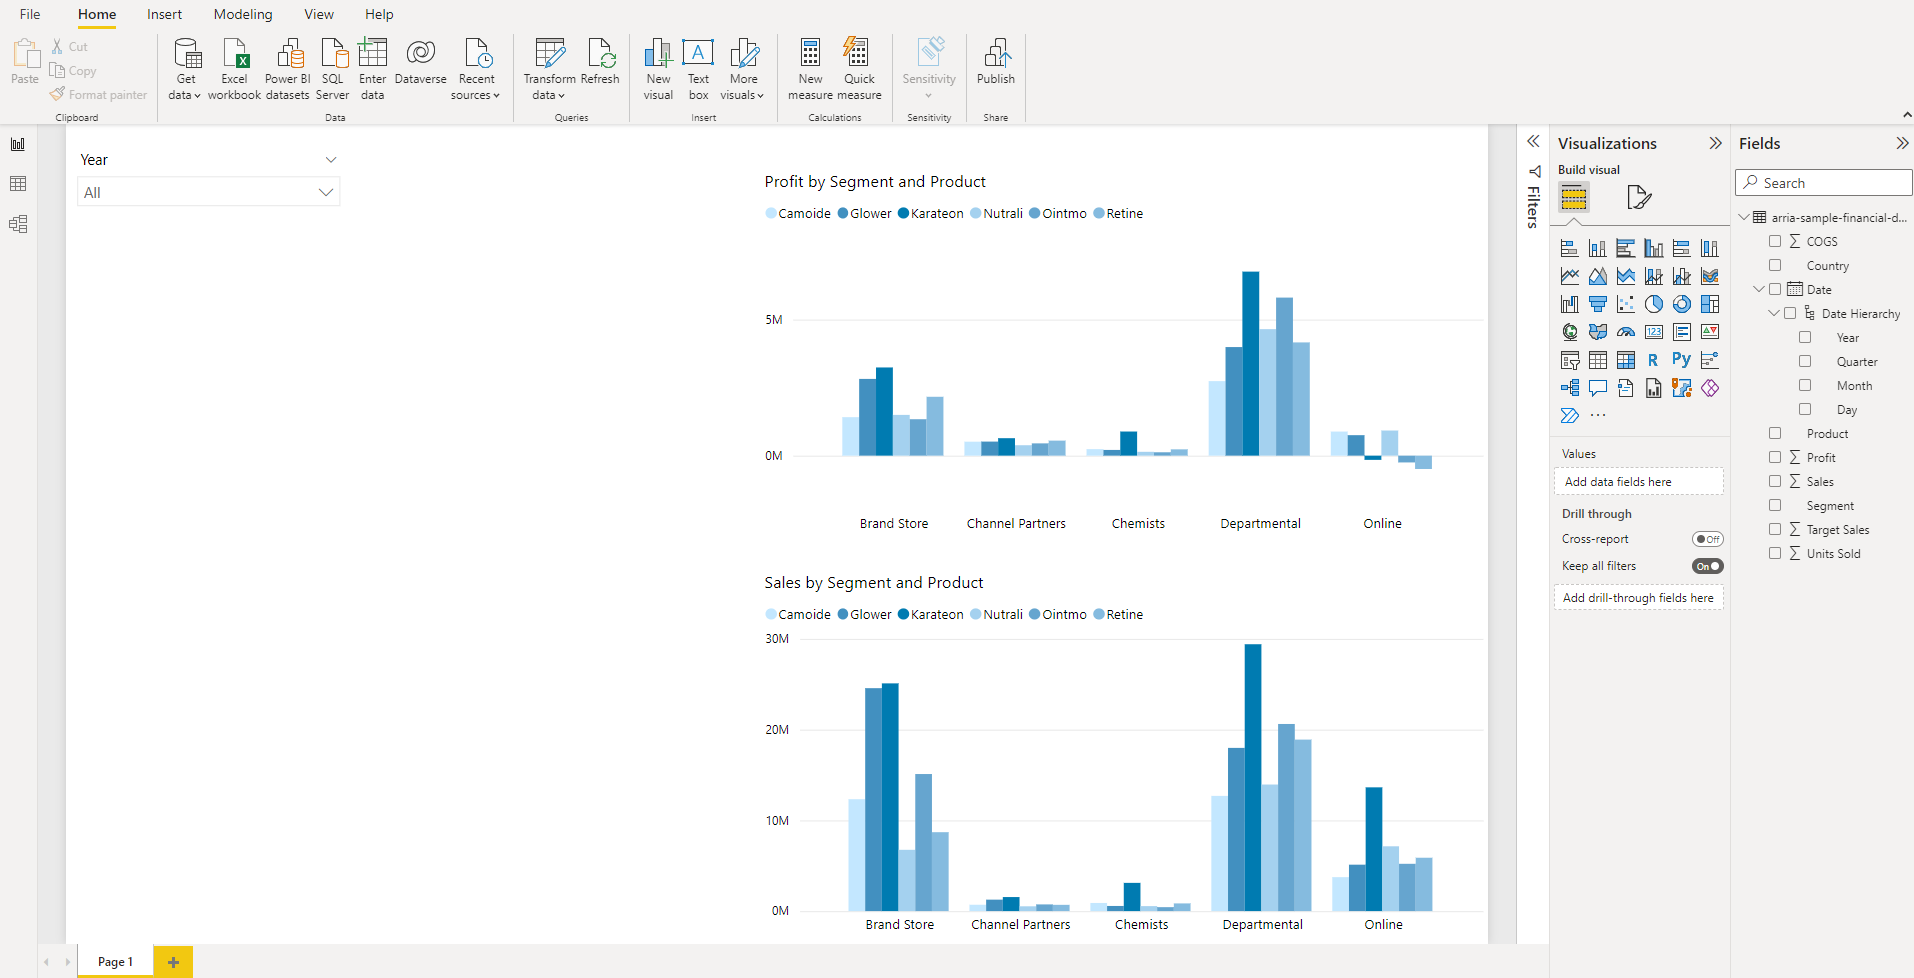
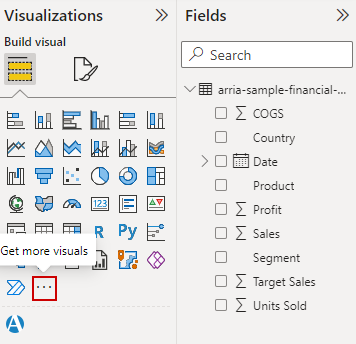
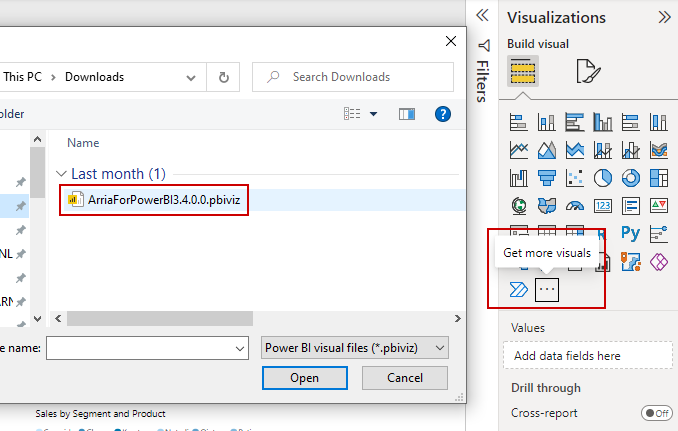
On the right side of the report, in the Visualizations pane, click the Get more visuals ellipsis.
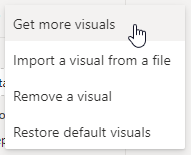
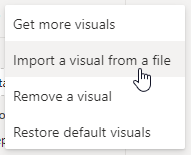
Choose one of the following import options:
Arria-Hosted Public Cloud deployments only:
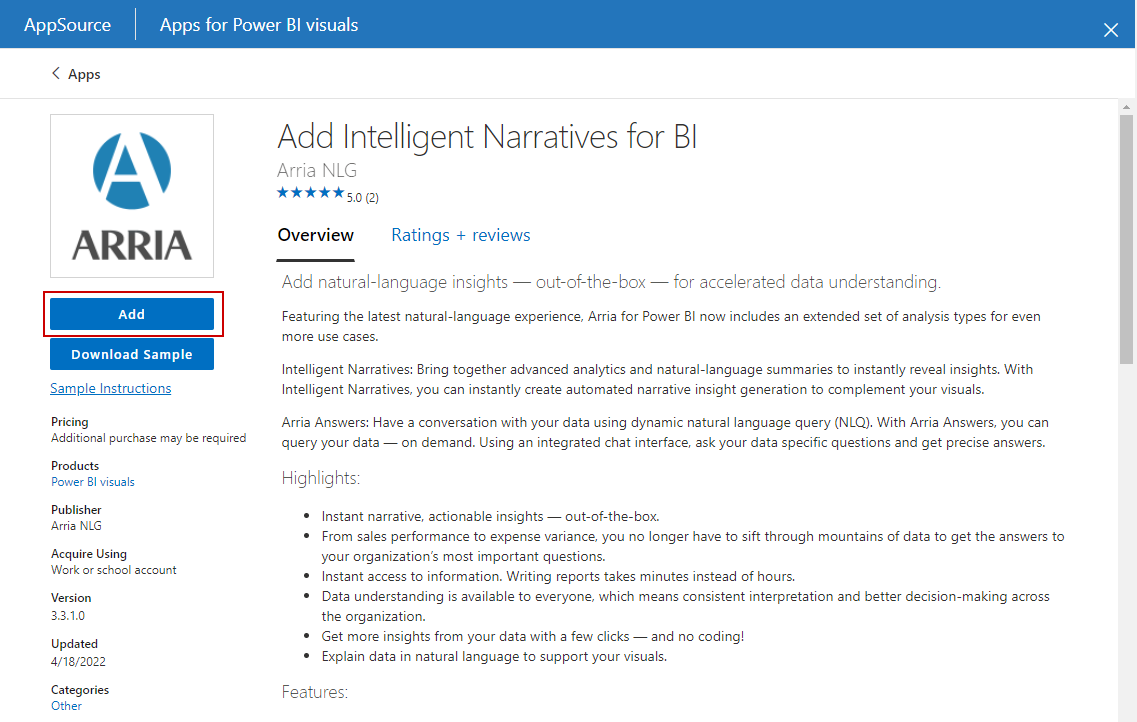
To import Arria for Power BI from Microsoft AppSource, select Get more visuals.
Find the Arria add-in by searching on 'Arria', then click Add.
Arria-Hosted Public Cloud, Arria-Hosted Private Cloud, and Customer-Hosted deployments:
To import Arria for Power BI from a previously downloaded PBIVIZ file, select Import a visual from a file. Browse to find the file on your computer, then click Open.
Note
The directions for downloading Arria for Power BI depend on your chosen deployment option:
Arria-Hosted Public Cloud deployments
On the Arria website, sign in to your Arria account and download the Arria for Power BI add-in (.pbiviz file).
Arria-Hosted Private Cloud and Customer-Hosted deployments
Users of the Arria-Hosted Private Cloud (a.k.a. Dedicated Cloud) and Customer-Hosted (a.k.a. On-Premises) deployment options can no longer use the publicly available Arria for Power BI custom visual.
Instead, you need a unique instance of the add-in configured to call your exclusive Arria for Power BI services. Contact Arria or your systems administrator for details.
A message is displayed to indicate that the add-in has been successfully imported.
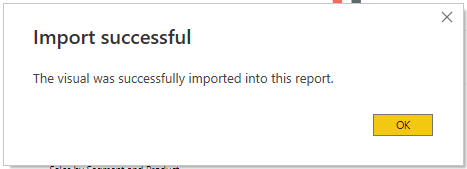
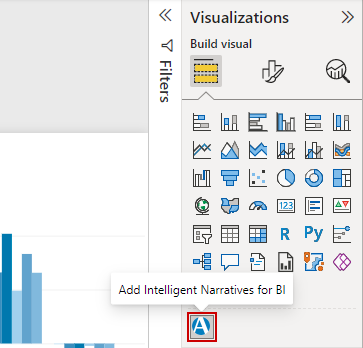
Click OK. The Arria logo appears in your Visualization pane.
Important
Make sure to click off any charts in your report. If you have a chart selected during the next step, it will be overwritten.
Click the Arria logo icon to add Arria's custom visual to your report. Move and resize it as desired.
Next, you'll add data fields to the Arria add-in and sign in.
