Select the worksheet view in Arria for Tableau
Now you'll add the Data for Narrative worksheet view to the dashboard and select it in Arria for Tableau.
Go back to the Dashboard sheet.
In the Arria for Tableau extension, click Configure your data.
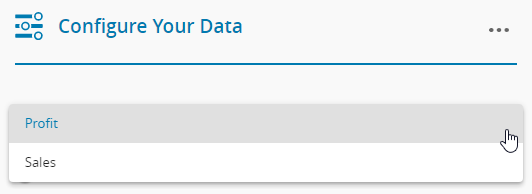
Click the dropdown field at the top of the page and notice that only the Profit and Sales sheets are available to select.
Add the Data for Narrative worksheet to the dashboard by dragging it from the Sheets list on the left of the workspace and dropping it onto the dashboard.
You set the dashboard layout to Floating in the Objects section on the left of the workspace in a previous topic, so Data for Narrative is added as a floating object.
The extension returns to the Get started with... screen
The Data for Narrative worksheet won't be used as a visual, so you can hide it behind the Arria for Tableau object to save real estate in your dashboard.
From the More Options pop-up menu in the upper corner of the Data for Narrative object, select Floating Order > Send to Back:
Tip
See Size and Lay Out Your Dashboard in the Tableau documentation for guidance on how to format and position objects in your dashboard.
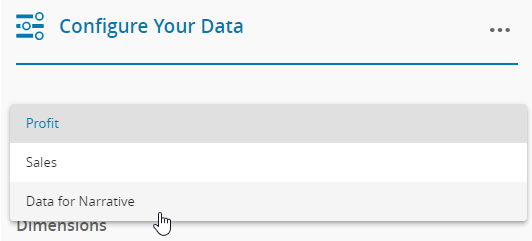
In Arria for Tableau, click Configure your data again.
At the top of the Configure Your Data page, in the dropdown field, select the Data for Narrative worksheet.
You see the data fields from the Data for Narrative worksheet listed in the extension.
In the final part of this tutorial, you'll select and configure data fields for analysis.
