Step 2: Data configuration
In Step 2 of the NLG Apps wizard you can adjust your data selection, then characterize and prioritize the data to be analyzed by your chosen app.
Preview the narrative at any time to see how your configuration choices affect the generated text.
Select data fields
The initial list of data fields contains all fields added to the Arria extension (as seen in the Qlik Sense Properties panel).
Note
You must select at least the minimum number of measures and dimensions required by the NLG app you wish to use.
For details, see the Dimensions and measures section for your chosen app.
You can remove fields from individual NLG apps without affecting their availability in other NLG apps or in Arria Answers.
To remove a field from an NLG app, click to expand it, then click Remove. You then must click Confirm Remove? to confirm. To remove all fields at once, click Remove All, then click Confirm Remove All?.
To re-add a field to an NLG app, click Add Dimension (or Add Measure) and select the relevant field from the dropdown. If all dimensions or measures added to the extension already appear in the list, the option to add more to the NLG app is disabled.
 |
Configure data fields as dimensions or measures
The Arria extension automatically categorizes each field in your selected data as a dimension or a measure according to how they've been categorized in Qlik Sense.
To recategorize a measure as a dimension, remove the field from the Arria extension by deleting it from the Qlik Sense Properties panel, then re-add the field as a measure. Do the same to recategorize a dimension as a measure.
 |
Configure data attributes
Further characterize your selected dimensions and measures by adjusting their attributes.
Note
See Data field names and formats for detailed guidance on the expected format for each type of data field.
Dimension attributes
ATTRIBUTE | DESCRIPTION | LOCATION |
|---|---|---|
Alias | Adds an alternative name for the field (if desired). For example, you could give the Segment field the alias Default: | 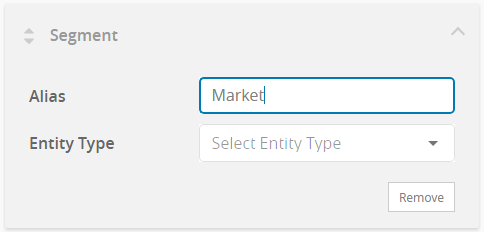 |
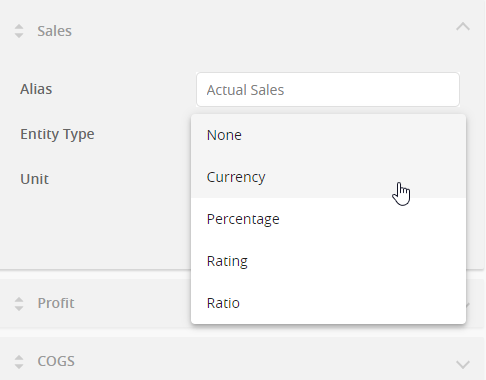
Entity Type | Ensures appropriate handling of dates and locations in the narrative. Set the Entity Type field to For example, when you set Entity Type to If neither of these entity types applies, leave this selection blank. Default: | 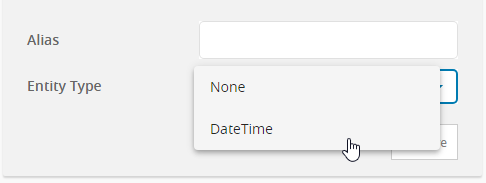 |
Measure attributes
ATTRIBUTE | DESCRIPTION | LOCATION |
|---|---|---|
Alias | Adds an alternative name for the field (if desired). For example, the Sales field could have the alias Default: | 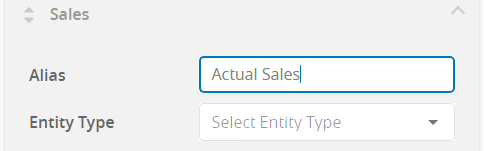 |
Entity Type | Along with a measure’s aggregation type, determines what type of analysis is appropriate, and therefore which apps can be used to analyze the measure. Not all aggregation and entity type combinations are supported by every app. For details of the combinations supported by a particular app, see the relevant page in the NLG Apps Directory. Also ensures appropriate language and formatting is used in the narrative. For example, when Default: NoteWhen analyzing percentages:
|  |
Unit | Defines the appropriate unit for your measure (e.g. A number of ISO 4217 currency codes are supported. Select the code for the currency you want to use in the narrative. For example, when the Unit field is set to Default: NoteNo currency conversion calculation is performed when you set Entity Type to | 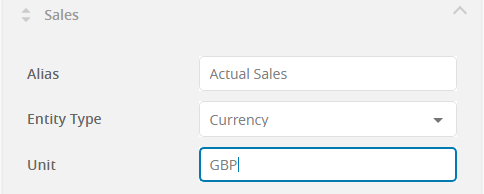 |
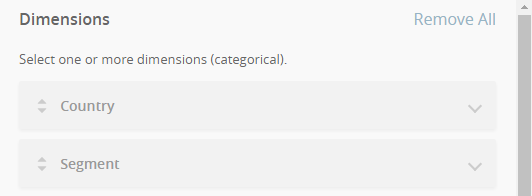
Prioritize data fields
The higher the position of a field in the list of dimensions, or in the list of measures, the higher its priority for coverage in the generated narrative.
The priority order for non-time dimensions is important for apps that perform drilldown analysis. For example:
 |  |
 | 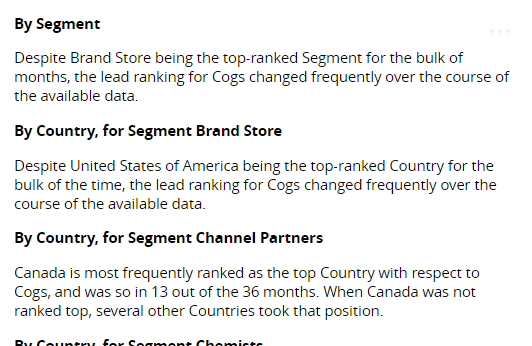 |
The priority order for measures is important for apps that describe each measure in turn. For example:
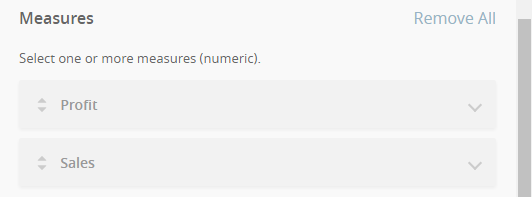 |  |
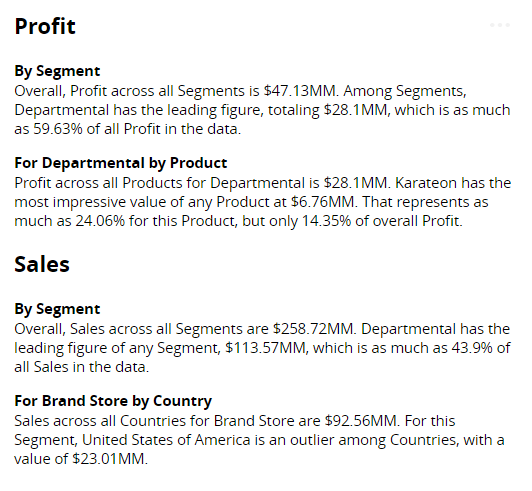 | 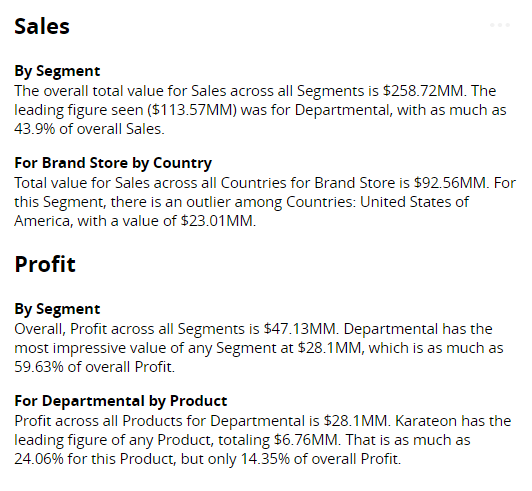 |
Drag and drop fields to change their priority order to suit the narrative you want to generate.
 |
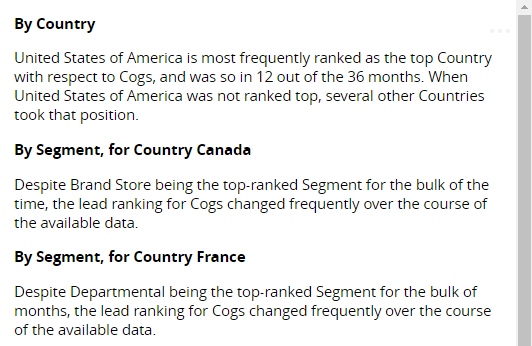
Preview narrative
Preview the narrative at any time to see how your configuration choices affect the generated text.
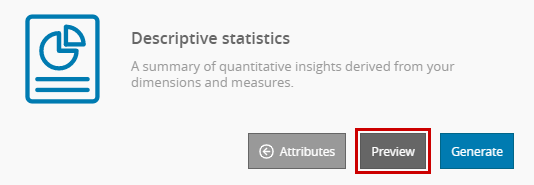 |
Clicking Preview takes you to the narrative options page where you can see the preview text in the Preview pane.
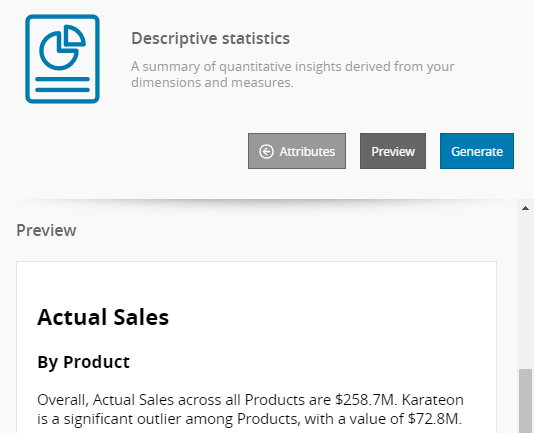 |
Click Attributes to return to the data attributes page.
